通过nginx访问tomcat中SpringMVC应用
&同一tomcat中部署多个SpringMVC应用
nginx简介
Nginx,也被称为”engine x”,是一个开源并且支持高性能和高并发的Web服务和代理服务软件。这款软件由俄罗斯人Igor Sysoev开发并首次在俄罗斯的大型网站www.rambler.ru上应用。它不仅可以作为HTTP服务器运行,还可以作为反向代理服务器使用,同时还提供了IMAP/POP3/SMTP等服务。Nginx因其轻量级和高效性在全球范围内得到了广泛的应用。
Linux 安装 nginx
这里安装nginx就不多说了,参考文档:Linux 安装 Nginx 并配置为系统服务(超详细)-CSDN博客
tomcat部署SpringMVC应用
将SpringMVC应用打war包,通过idea的maven打包项目
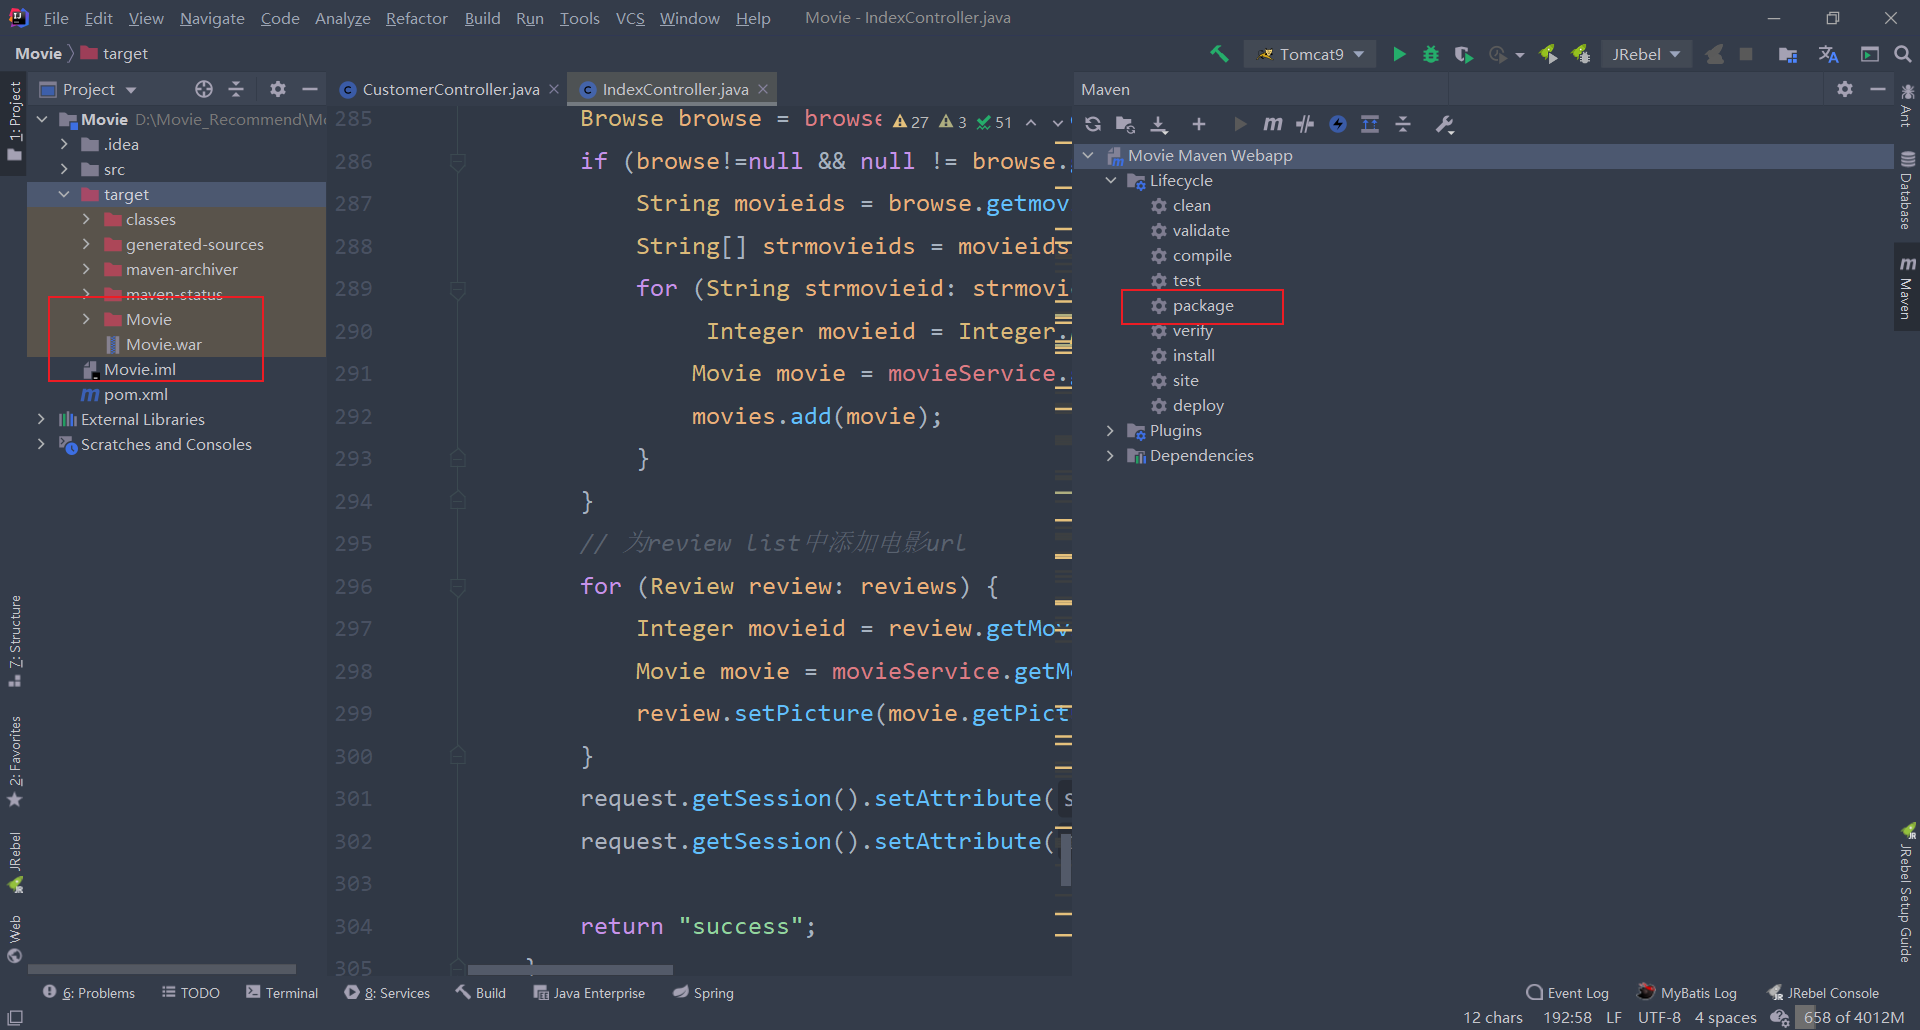
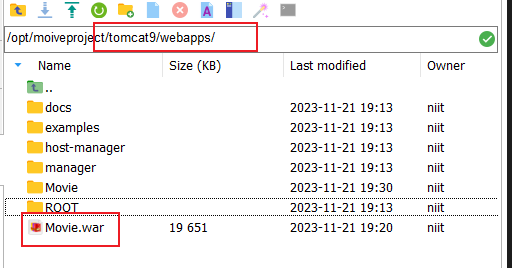
将 打包好的war包放到tomcat根目录下的webapp
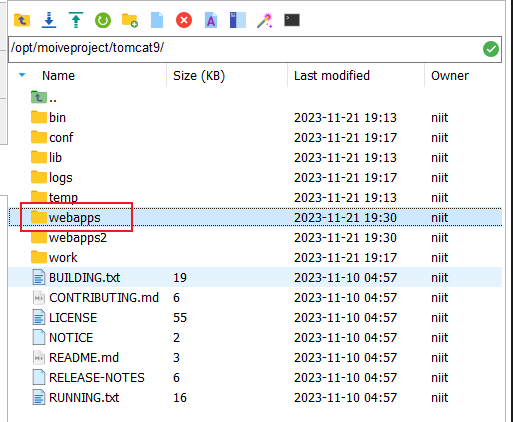
若在==同一个tomcat部署多个项目==,首先把webapp文件夹拷贝一份取名为webapp2,然后修改conf/server.xml文件
1
2
3
4
5
6
7
8
9
10
11
12
13
14
15
16
17
18
19
20
21
22
23
24
25
26
27
28
29
30
31
32
33
34
35
36
37
38
39
40
41
42
43
44
45
46
47
48
49
50
51
52
53
54
55
56
57
58
59
60
61
62
63
64
| <?xml version="1.0" encoding="UTF-8"?>
<Server port="8005" shutdown="SHUTDOWN">
<Listener className="org.apache.catalina.startup.VersionLoggerListener" />
<Listener className="org.apache.catalina.core.AprLifecycleListener" SSLEngine="on" />
<Listener className="org.apache.catalina.core.JreMemoryLeakPreventionListener" />
<Listener className="org.apache.catalina.mbeans.GlobalResourcesLifecycleListener" />
<Listener className="org.apache.catalina.core.ThreadLocalLeakPreventionListener" />
<GlobalNamingResources>
<Resource name="UserDatabase" auth="Container"
type="org.apache.catalina.UserDatabase"
description="User database that can be updated and saved"
factory="org.apache.catalina.users.MemoryUserDatabaseFactory"
pathname="conf/tomcat-users.xml" />
</GlobalNamingResources>
<Service name="Catalina">
<Connector port="18080" protocol="HTTP/1.1"
connectionTimeout="20000"
redirectPort="8443"
maxParameterCount="1000"
/>
<Engine name="Catalina" defaultHost="localhost">
<Realm className="org.apache.catalina.realm.LockOutRealm">
<Realm className="org.apache.catalina.realm.UserDatabaseRealm"
resourceName="UserDatabase"/>
</Realm>
<Host name="localhost" appBase="webapps"
unpackWARs="true" autoDeploy="true">
<Valve className="org.apache.catalina.valves.AccessLogValve" directory="logs"
prefix="localhost_access_log" suffix=".txt"
pattern="%h %l %u %t "%r" %s %b" />
<Context docBase="/opt/moiveproject/tomcat9/webapps/Movie" path="/" debug="0" reloadable="true"/>
</Host>
</Engine>
</Service>
<Service name="Catalina2">
<Connector port="8080" protocol="HTTP/1.1"
connectionTimeout="20000"
redirectPort="8443" />
<Connector port="8010" protocol="AJP/1.3" redirectPort="8445" />
<Engine name="Catalina" defaultHost="localhost">
<Realm className="org.apache.catalina.realm.LockOutRealm">
<Realm className="org.apache.catalina.realm.UserDatabaseRealm"
resourceName="UserDatabase"/>
</Realm>
<Host name="localhost" appBase="webapps2"
unpackWARs="true" autoDeploy="true">
<Valve className="org.apache.catalina.valves.AccessLogValve" directory="logs"
prefix="localhost_access_log" suffix=".txt"
pattern="%h %l %u %t "%r" %s %b" />
<Context docBase="/opt/moiveproject/tomcat9/webapps2/MovieManager" path="/" debug="0" reloadable="true"/>
</Host>
</Engine>
</Service>
</Server>
|

/tomcat9/bin/startup.sh 启动tomcat访问对应端口号即可访问应用
nginx访问SpringMVC应用
在nginx的配置文件目录下修改/nginx/conf/nginx.conf文件
1
2
3
4
5
6
7
8
9
10
11
12
13
14
15
16
17
18
19
20
21
22
23
24
25
26
27
28
29
30
31
32
33
34
35
36
37
38
39
40
41
42
43
44
45
46
47
48
| worker_processes 1;
events {
worker_connections 1024;
}
http {
include mime.types;
default_type application/octet-stream;
root /opt/moiveproject/moive_webapp;
index Home.jsp Home.jspx Home.do;
#log_format main '$remote_addr - $remote_user [$time_local] "$request" '
# '$status $body_bytes_sent "$http_referer" '
# '"$http_user_agent" "$http_x_forwarded_for"';
log_format main '$status $http_referer';
sendfile on;
keepalive_timeout 65;
server {
listen 80;
server_name niit01;
location /assets/ #静态分离
{
root /opt/moiveproject/moive_webapp; # 静态资源所放位置
}
location /
{
#==========Nginx提供的代理============
proxy_set_header X-Forwarded-Host $host;
proxy_set_header X-Forwarded-Server $host;
proxy_set_header X-Forwarded-For $proxy_add_x_forwarded_for;
#=== 如果遇到.jsp .jspx .do .action 的请求就进入该服务器(tomcat)===
proxy_pass http://niit01:18080;
# 日志文件位置
access_log /opt/moiveproject/movieLog/access.log main;
}
#error_page 404 /404.html;
# redirect server error pages to the static page /50x.html
#
error_page 500 502 503 504 /50x.html;
location = /50x.html {
root html;
}
}
|
重启nginx,访问niit01:80/即可访问应用
参考文档:
springmvc搭配nginx 实现动静分离 - 贾树丙 - 博客园 (cnblogs.com)
通过nginx访问tomcat中web应用的jsp网页_nginx配置jsp首页-CSDN博客
nginx安装和简单部署java web项目_nginx部署web项目-CSDN博客
服务器使用Nginx部署Springboot项目(jar包)-CSDN博客
Nginx部署JavaWeb项目-CSDN博客
Nginx服务器之Nginx与tomcat结合访问jsp - 小禾点点 - 博客园 (cnblogs.com)

 wechat
 alipay